ElasticSearch的安装
准备环境
安装前准备
- Linux / Mac
- Java8+
- elastic 6.X 7.X
在官方网站下载ES
https://www.elastic.co/cn/downloads
安装ES服务
ES不能以root用户身份启动必须创建普通用户
- 在Linux中创建新的组
1 | groupadd es |
- 创建新的用户es,并将es用户放入es组中
1 | useradd es -g es |
- 修改es用户密码
1 | passwd es |
使用es用户登录并上传安装包
解压缩elasticsearch
1 | tar -zxvf elasticsearch-6.8.0.tar.gz |

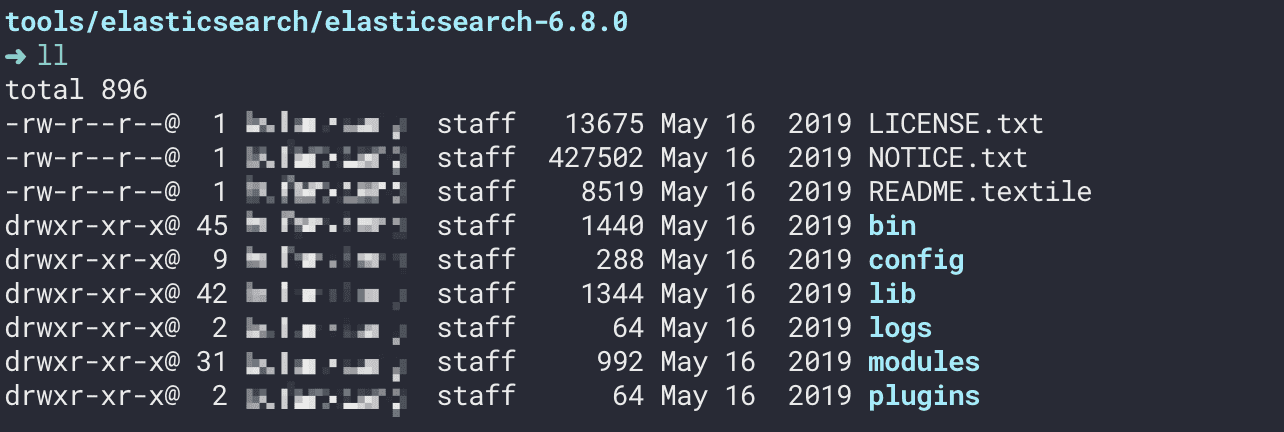
进入ES安装目录查看目录结构
1 | - bin 可执行的二进制文件的目录 |
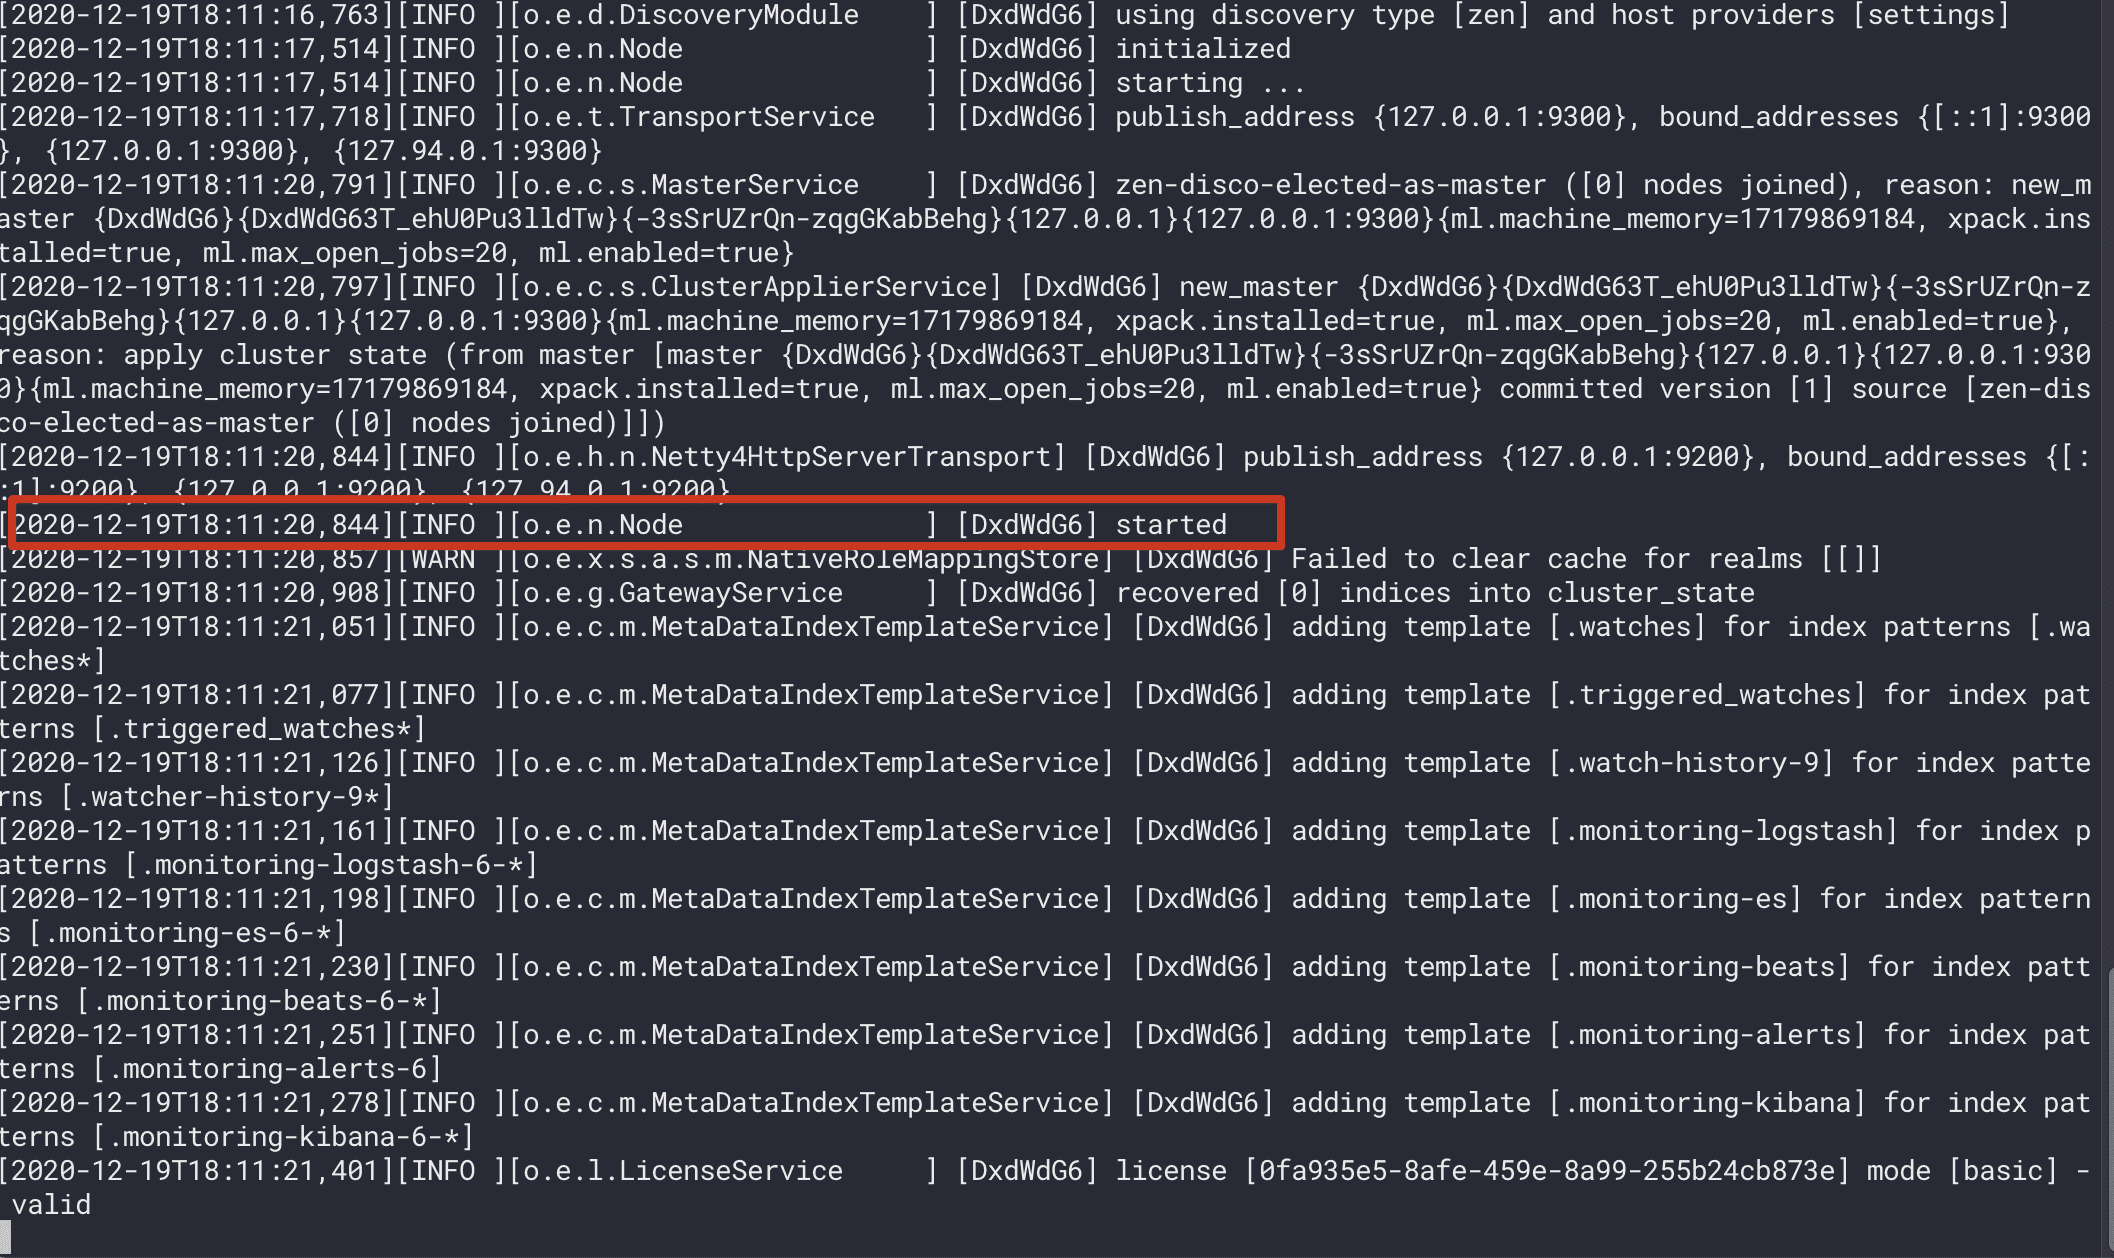
进入bin目录启动ES服务
1 | ./elaticsearch |
出现下图红框日志表示启动成功
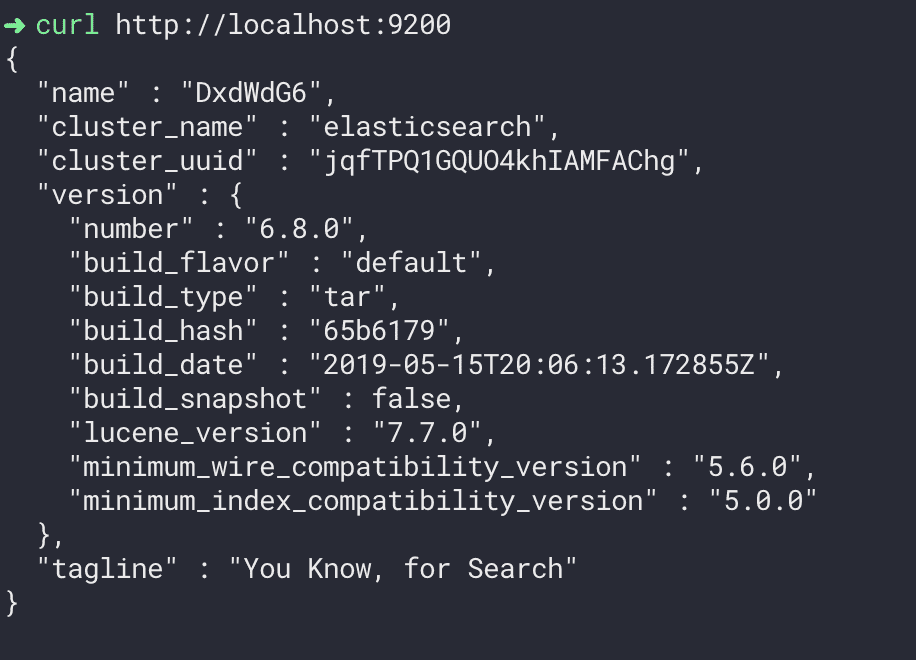
执行如下命令测试客户端操作
1 | curl http://localhost:9200 |
开启远程连接权限
注意:ES服务默认启动是受保护的,只允许本地客户端连接,如果想要通过远程客户端访问,必须开启远程连接
开启ES远程访问
1 | vim elasticsearch.yml 将原来network修改为以下配置: |
- 原始配置
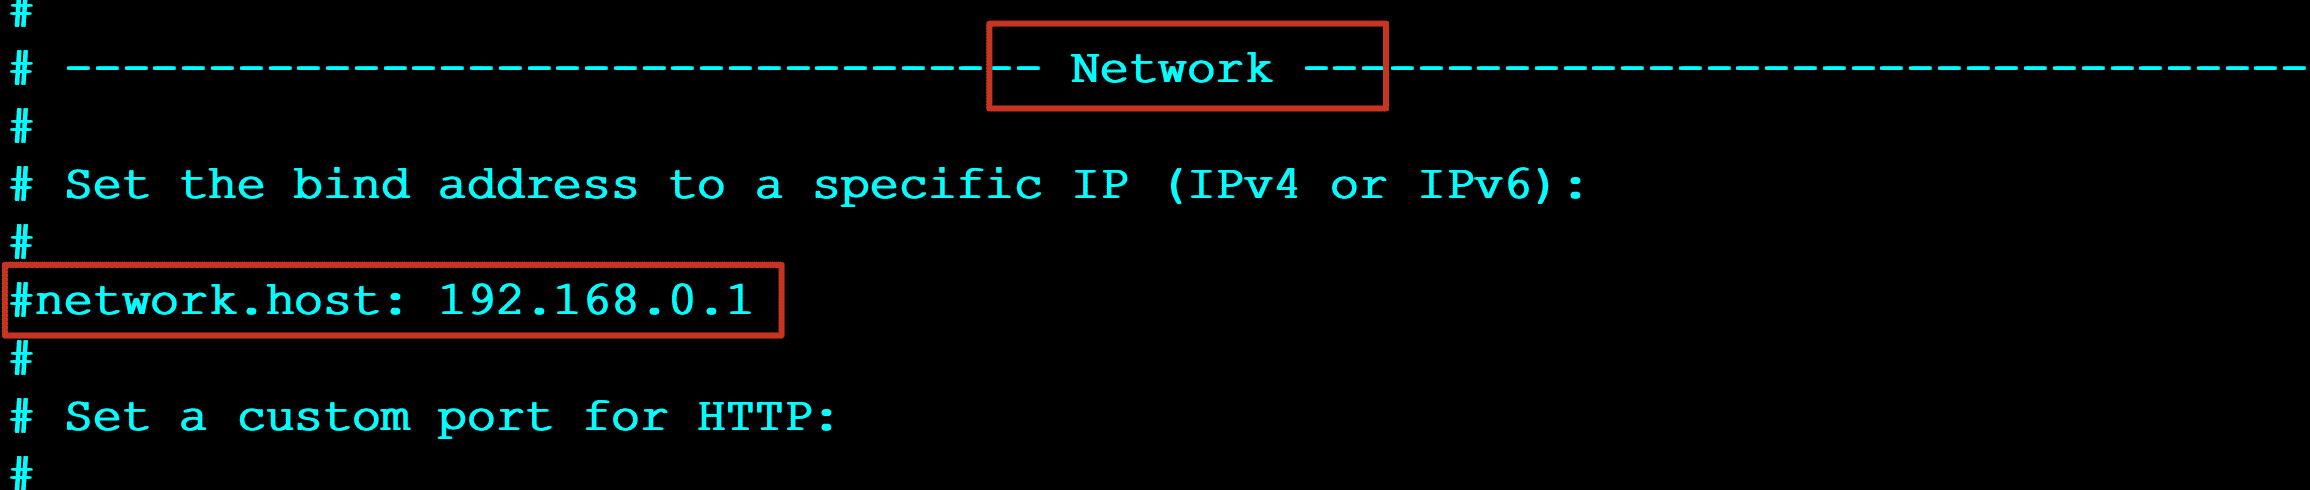
- 修改后配置

重启启动ES服务
1 | ./elasticsearch |

重新启动es出现如下错误
1 | ERROR: [3] bootstrap checks failed |
- 解决错误[1] 使用root用户修改系统配置
1 | vim /etc/security/limits.conf 在最后面追加下面内容 |
登录重新在检测配置是否生效
1 | ulimit -Hn |

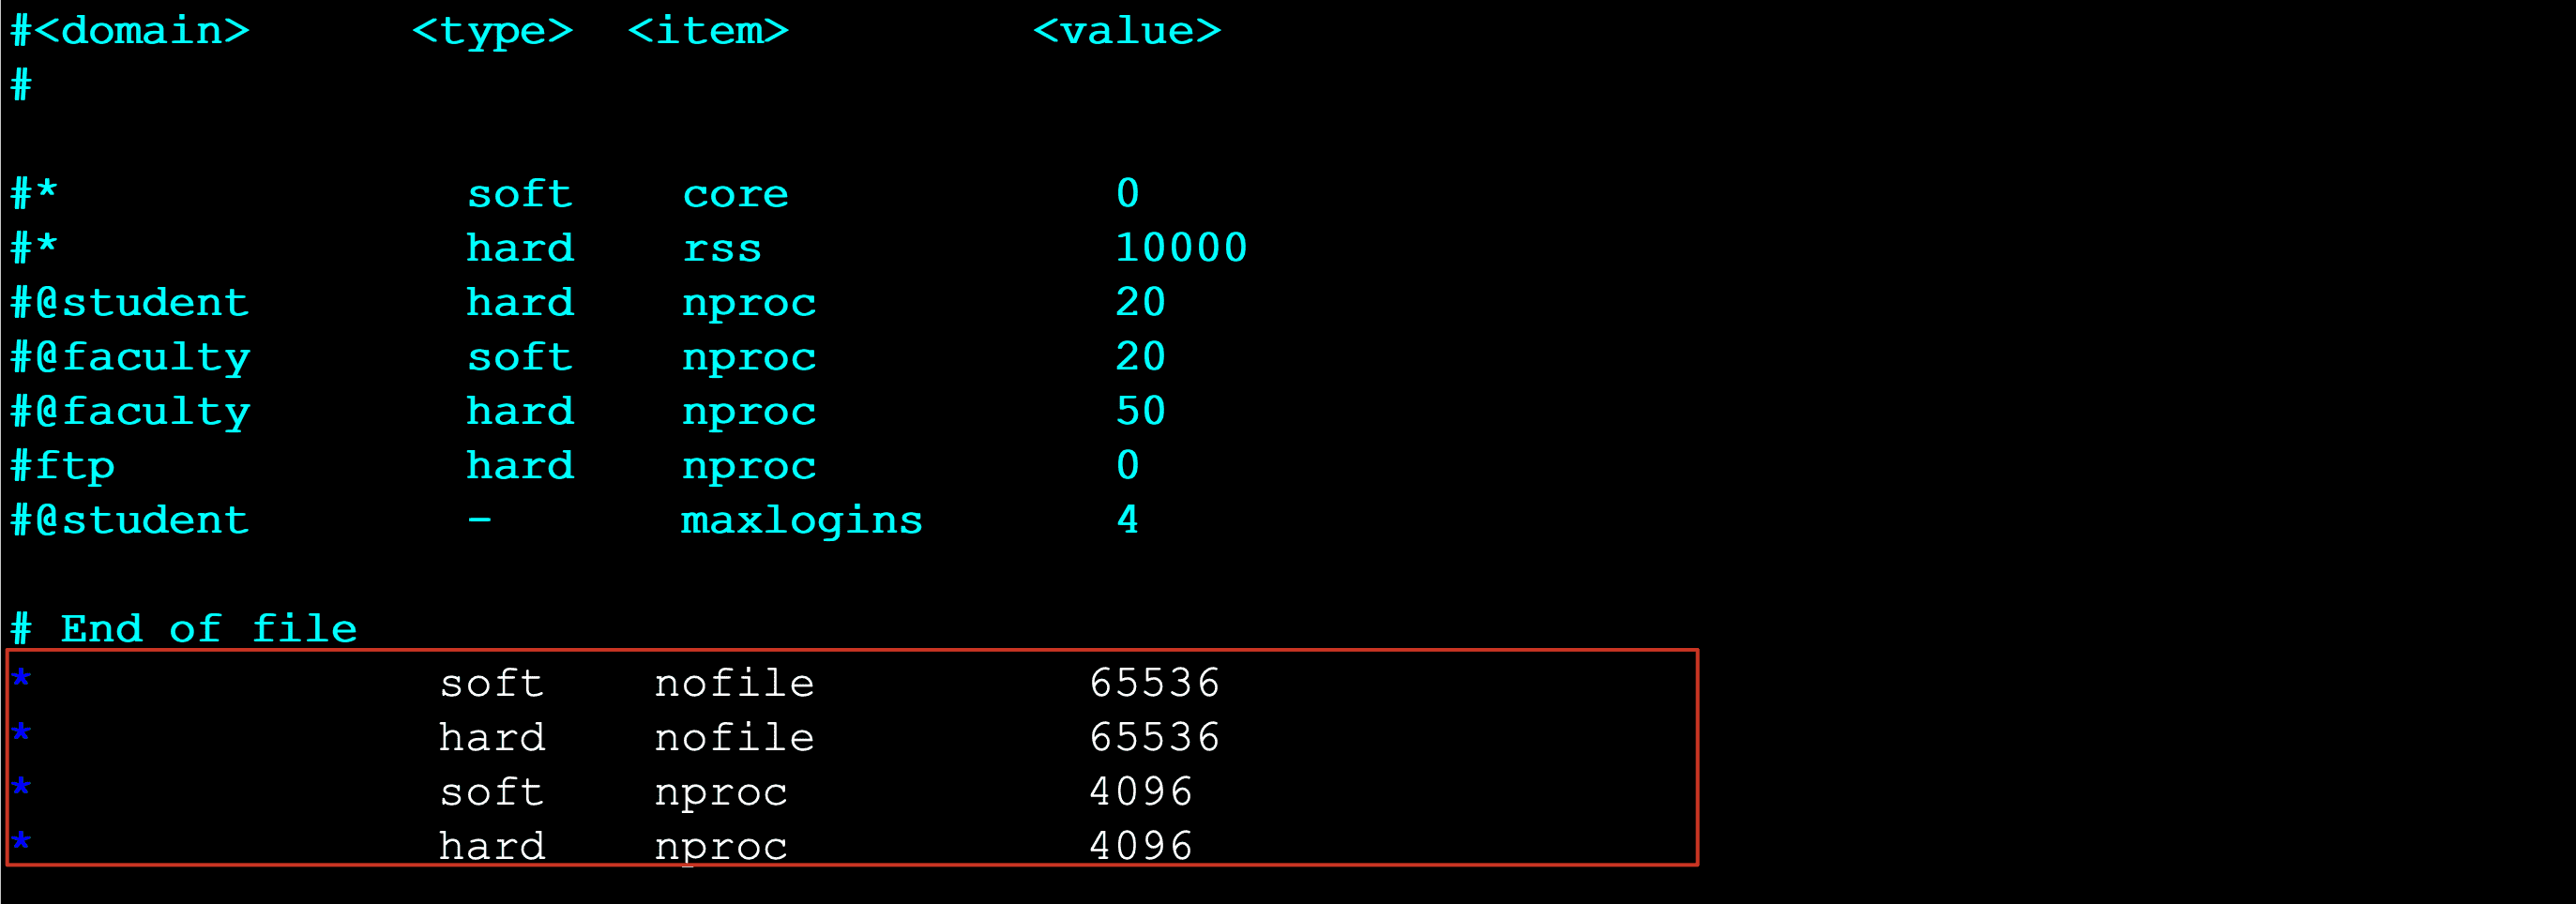
- 解决错误[2] 使用root用户修改系统配置
1 | vim /etc/security/limits.d/20-nproc.conf |


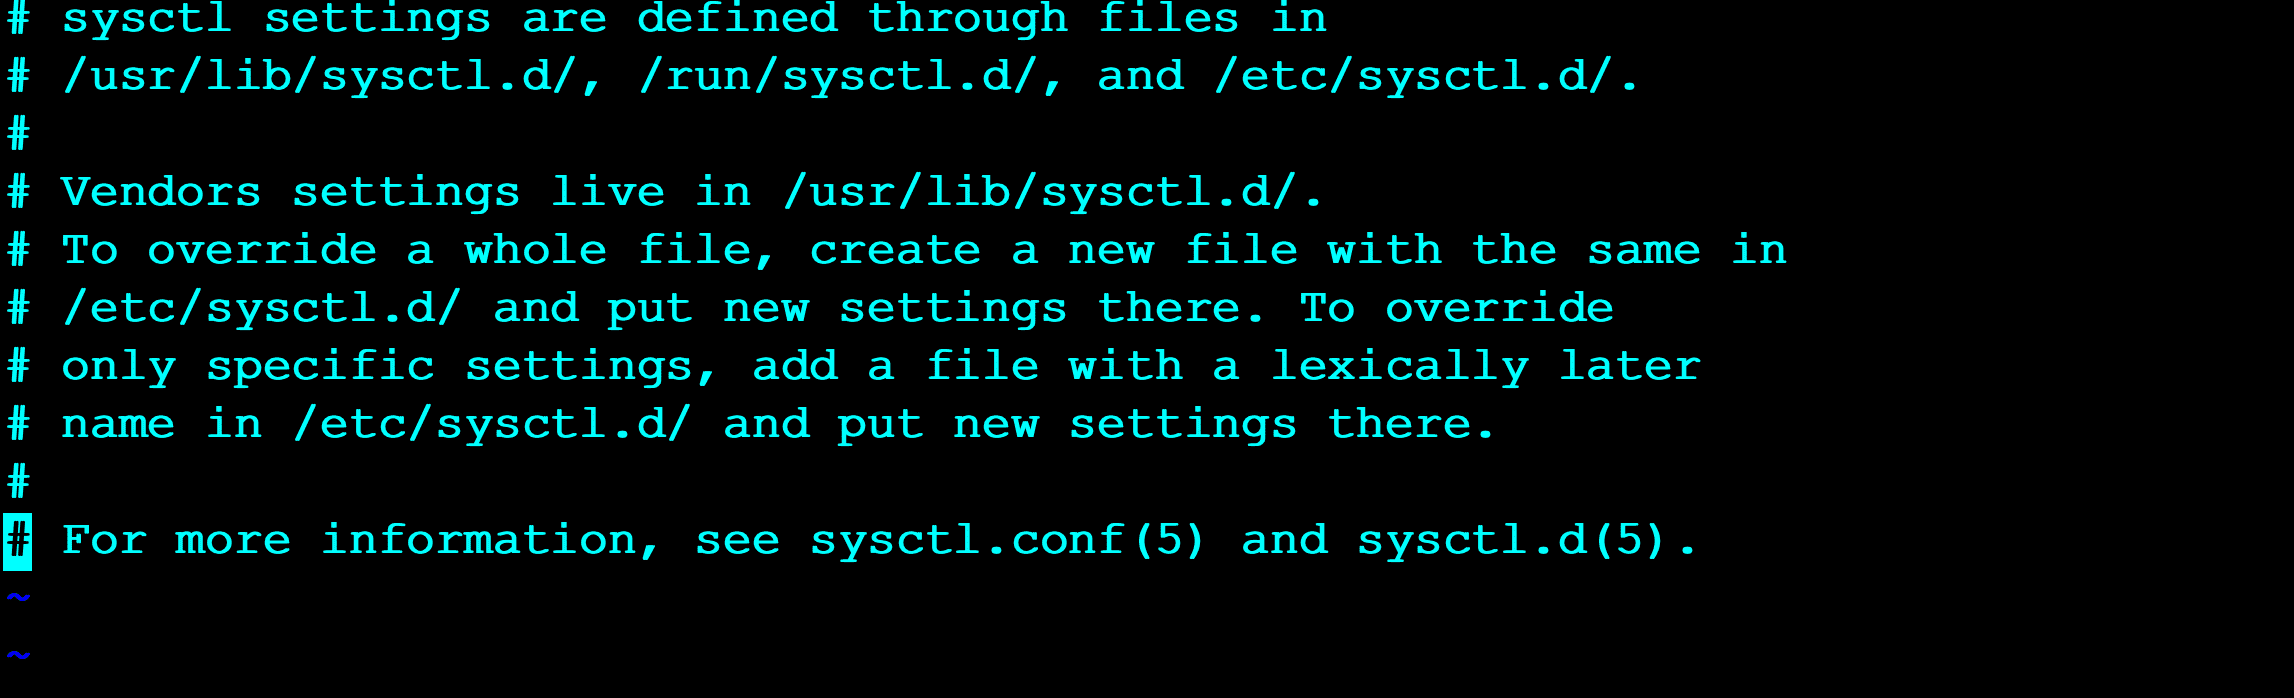
- 解决错误[3] 使用root用户修改系统配置
1 | vim /etc/sysctl.conf |
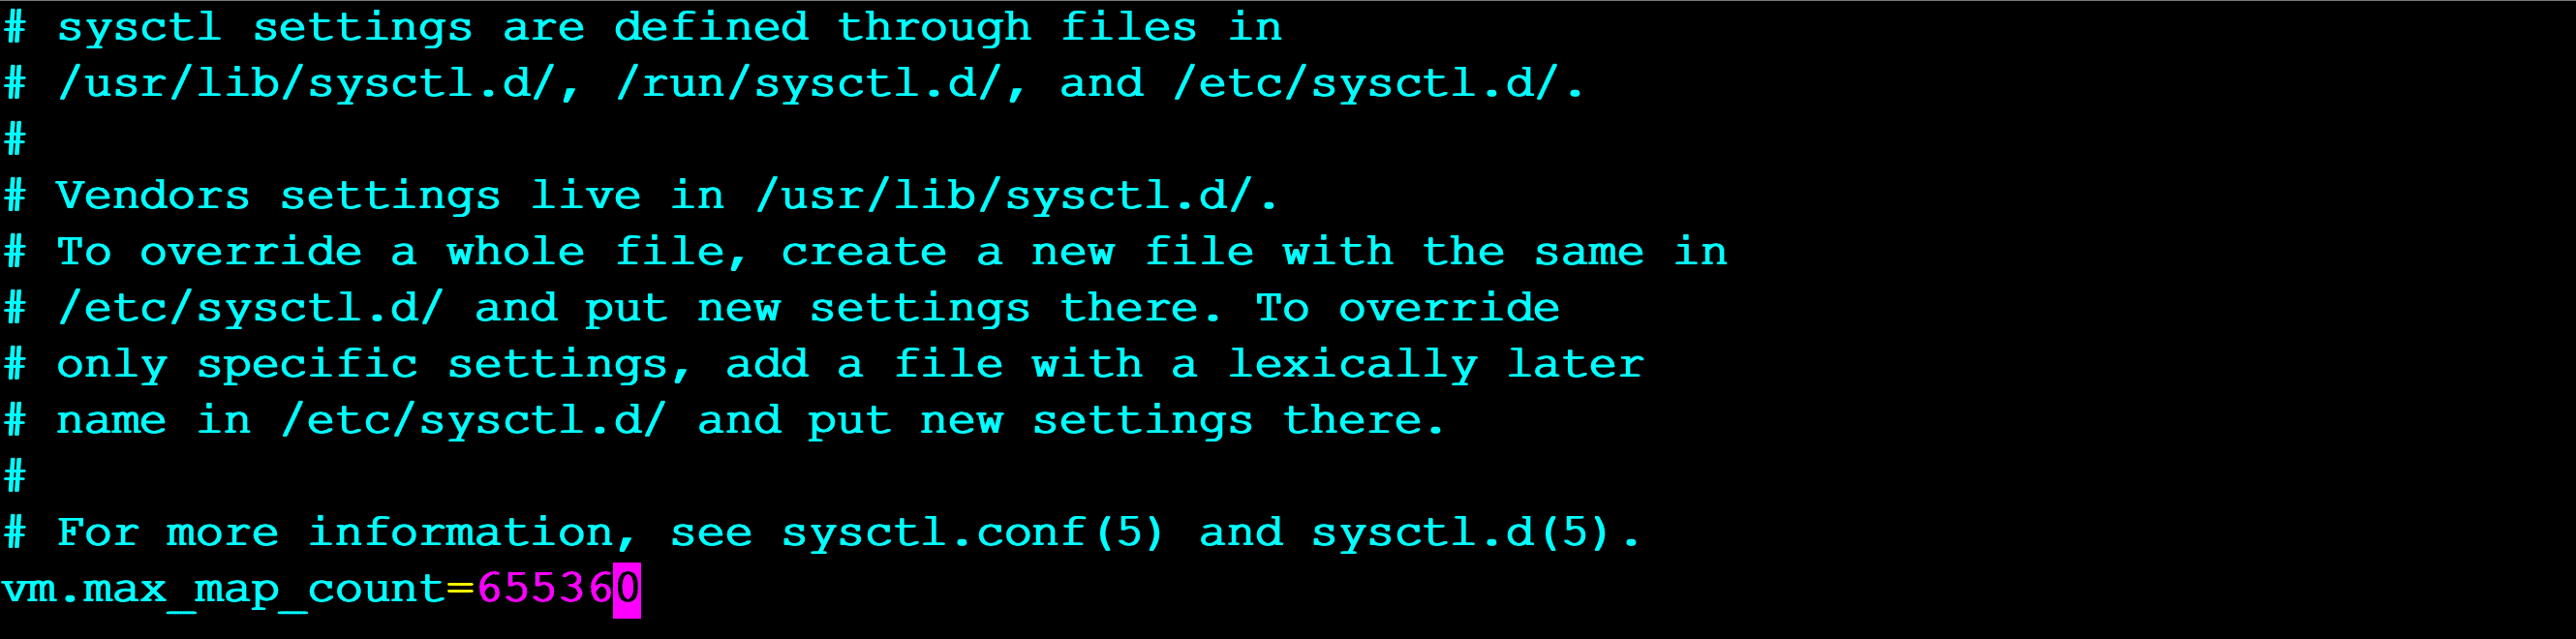
执行如下命令检测是否生效
1 | sysctl -p |

退出从新登录之后重新启动ES服务
1 | ./elasticsearch |

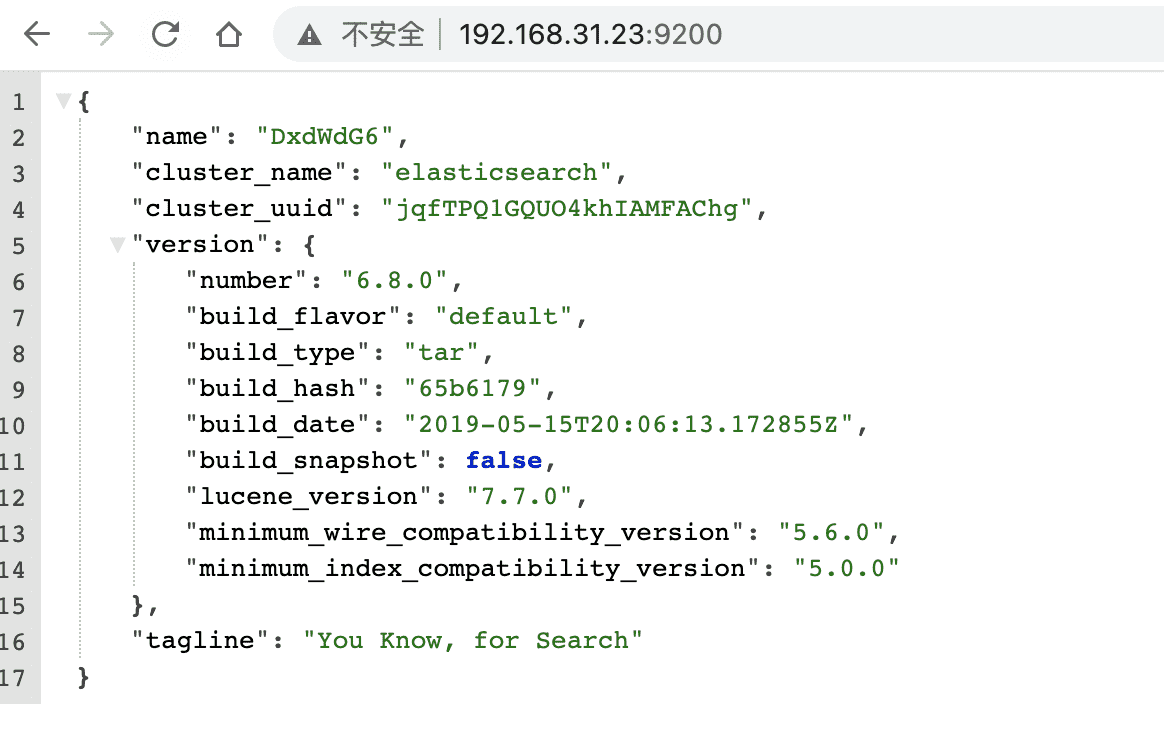
通过浏览器访问ES服务
 加密es
加密es
修改配置文件:elasticsearch.yml
最后追加:
1 | xpack.security.enabled: true |
进入bin目录执行命令,提示输入密码,确认密码
1 | $ ./elasticsearch-setup-passwords interactive |
重新启动es,输入elastic和密码即可。
1 | curl http://localhost:9200 --user elastic:Aa000000 |
ElasticSearch的安装